Replacing Launch Images with Storyboards using Xamarin.iOS
As of iOS 8 you can now use storyboards instead of images for your app's launch image. This is convenient, as you only need to create one storyboard instead of multiple launch images (one for each device form factor). This post by Ole Begemann outlines the procedure for a regular iOS app, I'll now show you how it's done using Xarmarin.iOS.
Instructions

- Create an empty storyboard in Xamarin Studio and name it LaunchScreen.storyboard.
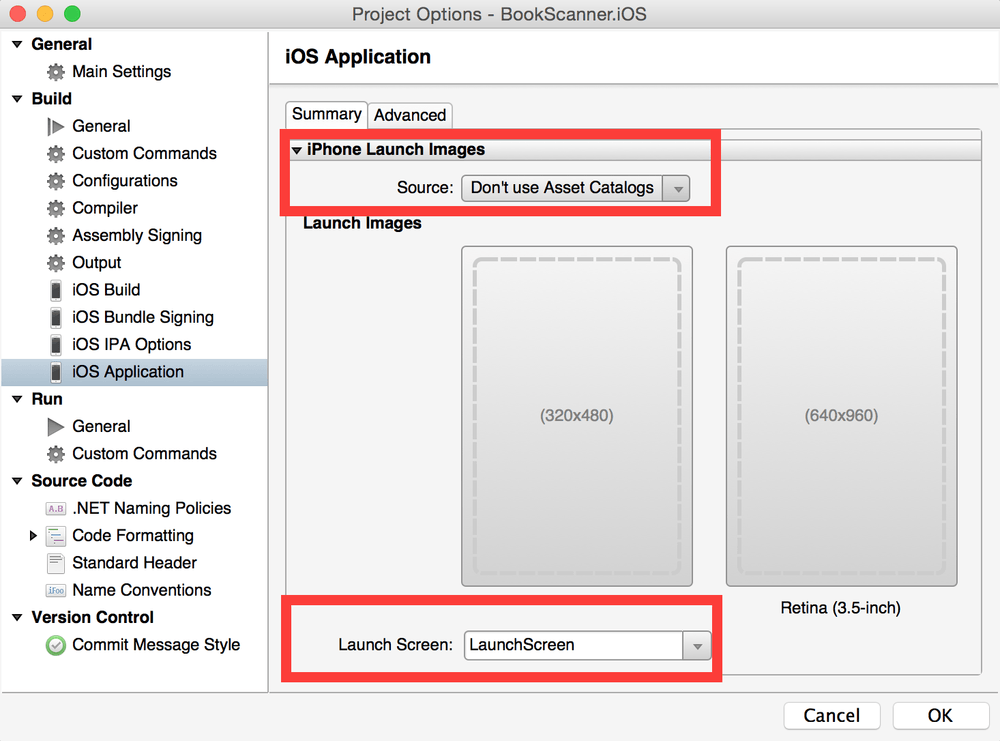
- Open Options for your Xamarin.iOS project and set the newly created storyboard as the launch image.
- Edit your storyboard using Xamarin iOS Designer or Xcode Interface Builder. The iOS Human Interface Guidelines specifies that:
Design a launch image that is identical to the first screen of the app, except for: [1] Text. … [2] UI elements that might change.
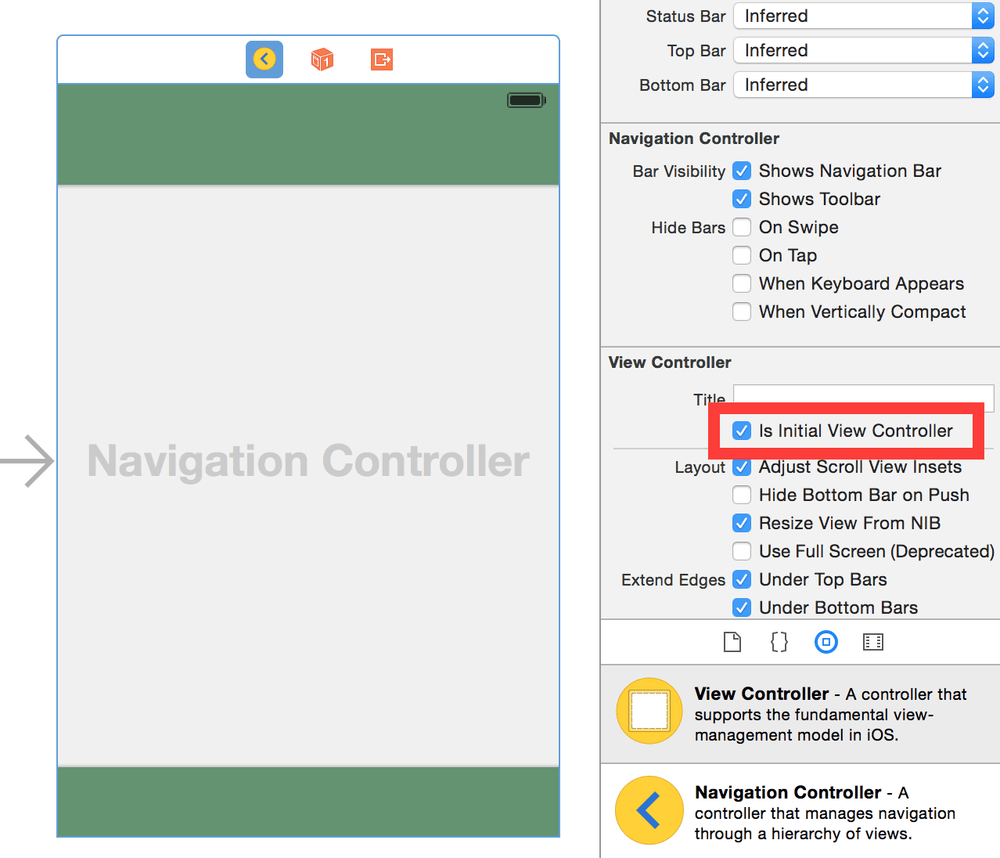
After you're satisfied with your design, remember to tick the Is Initial View Controller checkbox. Without it, your View Controller will not be loaded and you're stuck with a black only launch image.
Note that storyboard launch images do not work in the iOS Simulator at the moment, so be sure to test it on a real device.

Caveat
After replacing your launch images with a storyboard, your app will appear in full size on all devices. This includes the iPad, even if you've created an iPhone only app. If your app is unusable on the iPad in this state, I would hold off until / if this bug is fixed.
Book Scanner will use a storyboard launch images from version 1.5, which is under development.